
Introduction
Are you excited to dive into the world of robotics with your new mBot? Whether you’re a parent, teacher, or curious beginner, this guide will walk you through everything you need to get started. We’ll cover everything from unboxing and assembling your mBot to programming it and troubleshooting common issues. By the end, you’ll have a good grasp on how to use your mBot to its full potential. And remember, you can always find your mBot kits on Promallshop.
What is mBot?
Before we dive into the nitty-gritty, let’s talk about what mBot is. mBot is an educational robot kit designed to make learning robotics and programming fun and accessible for everyone. Think of it as a gateway to the exciting world of STEM (Science, Technology, Engineering, and Mathematics). With mBot, kids and beginners can learn to code, understand how robots work, and even create their own projects.
Unboxing Your mBot
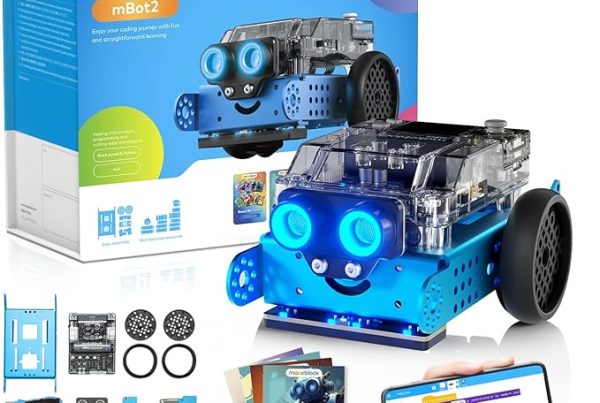
The first step in your mBot journey is unboxing. Here’s what you’ll typically find inside the mBot package:
- mBot main board
- Chassis
- Motors
- Wheels
- Sensors (ultrasonic, line follower)
- Cables
- Battery holder
- Screws and tools
Make sure all components are included before you start assembling. If something is missing, contact customer support from where you purchased your mBot.
mBot Assembly Guide
- Preparing Your Workspace: Find a clean, flat surface to work on. Lay out all the parts and tools so you can easily find what you need.
- Assembling the Chassis: Start by assembling the chassis. Attach the motors to the chassis using the screws provided. Ensure they are securely in place.
- Connecting the Wheels: Next, attach the wheels to the motors. Make sure they are aligned properly so your mBot can move smoothly.
- Mounting the Main Board: Place the main board onto the chassis. Use the screws to secure it in place. This is the brain of your mBot, so ensure it’s firmly attached.
- Attaching the Sensors: Connect the sensors to the main board. Typically, the ultrasonic sensor goes at the front, and the line follower sensors go at the bottom.
- Connecting the Cables: Finally, connect the cables from the motors and sensors to the main board. Follow the instructions carefully to ensure each cable goes to the correct port.
mBot Programming Guide
Now that your mBot is assembled, it’s time to bring it to life with programming. mBot uses a visual programming language called mBlock, which is based on Scratch.
- Downloading mBlock: First, download the mBlock software from the official website and install it on your computer.
- Connecting Your mBot: Connect your mBot to your computer using the USB cable provided. Open mBlock and select the appropriate connection port.
- Writing Your First Program: Start with a simple program to make your mBot move forward. Drag and drop the blocks to create a sequence of commands. Click the green flag to execute the program and watch your mBot move!
- Exploring More Features: Experiment with different sensors and commands. Try programming your mBot to follow a line, avoid obstacles, or play sounds.
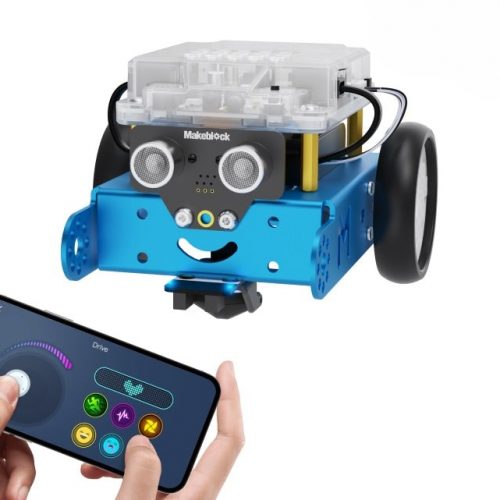
Connecting mBot via Bluetooth
If you prefer wireless control, you can connect your mBot via Bluetooth.
- Installing the Bluetooth Module: Attach the Bluetooth module to the main board if it’s not already installed.
- Pairing with Your Device: Turn on Bluetooth on your computer or mobile device. Search for your mBot and pair it. Open the mBlock app and connect to your mBot via Bluetooth.
- Controlling mBot Remotely: Now you can control your mBot wirelessly. Use the app to drive your mBot, run programs, and more.
Calibrating mBot Sensors
Proper sensor calibration ensures your mBot functions correctly.
- Line Follower Sensor: Place your mBot on a white surface with a black line. Use the calibration tool in mBlock to adjust the sensor’s sensitivity.
- Ultrasonic Sensor: Test the ultrasonic sensor by placing an object in front of it. Adjust the sensor settings in mBlock to ensure accurate distance readings.
Troubleshooting Common Issues
- mBot Not Moving: Check the motor connections and ensure the batteries are properly installed and charged.
- Sensors Not Working: Ensure all sensor cables are connected to the correct ports on the main board. Recalibrate the sensors if necessary.
- Bluetooth Connection Problems: Make sure the Bluetooth module is securely attached and your device’s Bluetooth is turned on. Try restarting both the mBot and your device.
mBot Project Ideas
Here are some fun projects to try with your mBot:
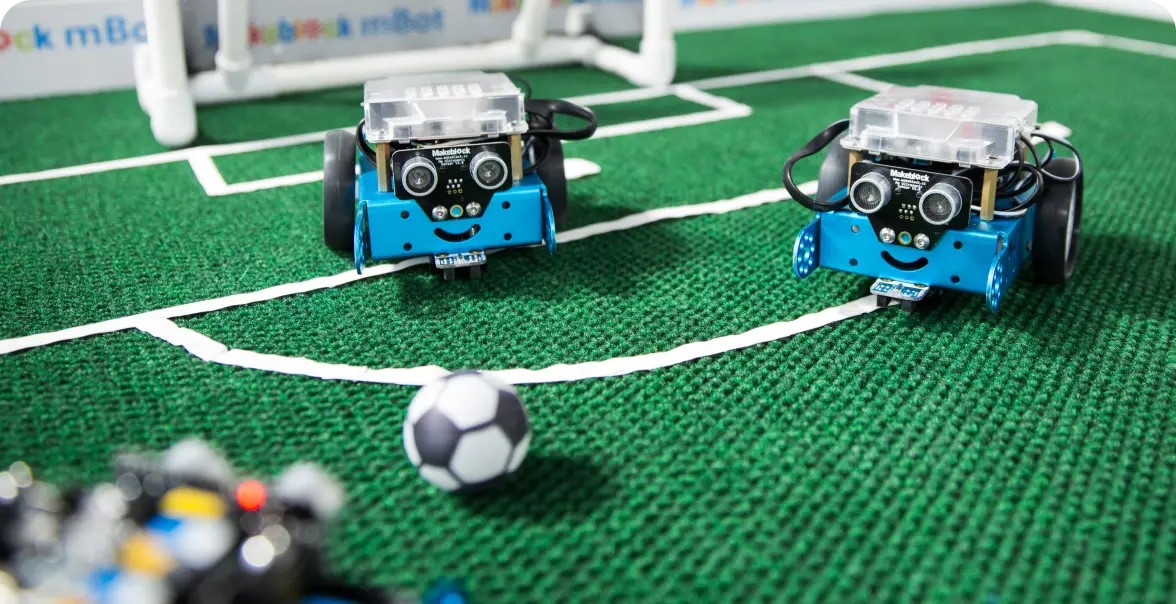
- Obstacle Course: Create an obstacle course and program your mBot to navigate through it.
- Line Follower: Program your mBot to follow a black line on the floor.
- Sound Activated Robot: Use the sound sensor to make your mBot move when it detects a clap or shout.
- Light Show: Program your mBot to flash its LEDs in different colors and patterns.
mBot in the Classroom
mBot is a fantastic tool for educators. Here are some ways to integrate mBot into your lessons:
- Interactive Lessons: Use mBot to teach coding, robotics, and problem-solving skills through interactive lessons.
- Group Projects: Encourage teamwork by having students work in groups to complete mBot projects.
- Competitions: Organize mBot competitions to motivate students and make learning fun.
Conclusion
Getting started with mBot is an exciting journey into the world of robotics and programming. By following this step-by-step guide, you’ll be well on your way to mastering your mBot and exploring endless possibilities. Remember, you can find your mBot kits on Promallshop and get started on your robotics adventure today!
FAQs
To update the firmware, connect your mBot to your computer via USB, open mBlock, and select the “Update Firmware” option from the menu.
Yes, mBot can be controlled using the mBlock app available for both iOS and Android devices.
mBot is designed for kids aged 8 and up, but it’s also great for beginners of any age who want to learn about robotics and programming.
The battery life depends on usage, but typically it lasts for several hours of continuous operation.
You can find more project ideas and resources on the official mBot website, as well as on educational platforms and forums dedicated to robotics and coding.