

Introduction
Setting up a VoIP phone shouldn’t feel like launching a rocket. If you’ve just unboxed your Yealink device and feel overwhelmed by the buttons and cables, you’re not alone. This guide is here to make Yealink IP Phone Setup as easy as brewing a cup of coffee—one step at a time.
Whether you’re a remote worker, IT admin, or small business owner, this beginner-friendly guide will help you go from “Where do I start?” to “I got this!”
Table of Contents
- Introduction
- Yealink IP Phone Setup: First-Time Unboxing & Connections
- Accessing the Web Interface
- SIP Configuration Made Simple
- Auto Provisioning for Easy Deployment
- Firmware Update Guide
- Yealink IP Phone Setup with FreePBX
- Enable BLF & Call Forwarding
- Secure Your Configuration
- Where to Shop for Yealink IP Phones
- Conclusion
- FAQs
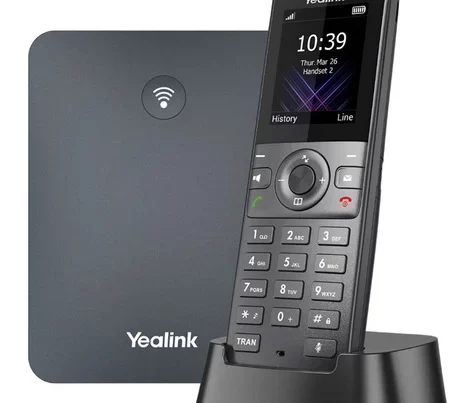
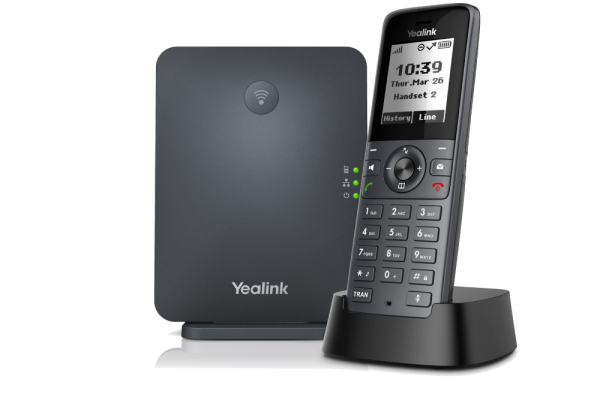
Yealink IP Phone Setup: First-Time Unboxing & Connections
Let’s get started with the basics of Yealink IP Phone Setup:
- Connect the handset to the base.
- Plug in the Ethernet cable from your router to the phone’s LAN port.
- Use the power adapter (unless using PoE).
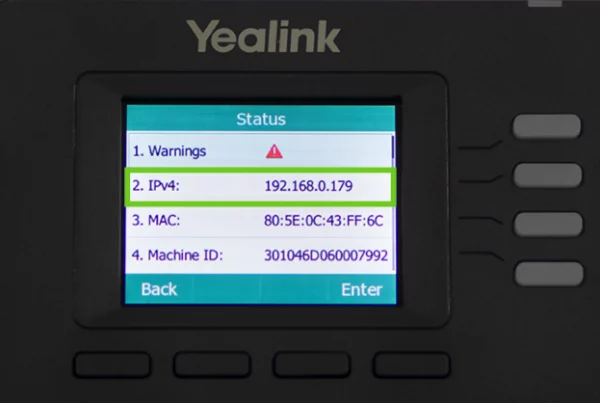
Once powered, the screen will display your phone’s IP address. Jot that down—you’ll need it in the next step.
Accessing the Web Interface
This step unlocks the control panel of your device:
- Open a browser on your PC.
- Enter the IP address shown on the phone screen.
- Login using default credentials:
- Username: admin
- Password: admin
- Username: admin
Now you can configure every setting from SIP to network to firmware.
SIP Configuration Made Simple
To make and receive calls, you must complete the SIP configuration:
- Go to Account > Register
- Input your:
- SIP Server (e.g., sip.yourprovider.com)
- SIP Username
- SIP Password
- SIP Server (e.g., sip.yourprovider.com)
- Click Confirm
If the status shows “Registered,” you’re good to go.
Auto Provisioning for Easy Deployment
Setting up several phones? Save time by using auto provisioning:
- Upload a config file to your provisioning server.
- Go to Settings > Auto Provision on your Yealink phone.
- Enter the provisioning URL and press Auto Provision Now.
Your phones will fetch the right settings automatically—just like magic.
Firmware Update Guide
Updating firmware is like giving your phone a software refresh:
- Download the latest version from Yealink’s support site.
- Open the web UI → go to Settings > Upgrade
- Upload the file and click Upgrade
This fixes bugs, adds new features, and improves security.
Yealink IP Phone Setup with FreePBX
Want to pair your Yealink phone with FreePBX?
- Create an extension on FreePBX.
- Use that extension number and secret as your SIP credentials.
- In the Yealink web interface, go to Account → Register.
- Enter your PBX server’s IP address as the SIP server.
Now, FreePBX and your phone are working as one smart unit.
Enable BLF & Call Forwarding
Make your system smarter with BLF and call forwarding:
Busy Lamp Field (BLF):
- Go to DSSKey > Line Key
- Set the key type to BLF
- Enter the extension number you want to monitor
Call Forwarding:
- Navigate to Features → Call Forward
- Set up rules for Always, Busy, or No Answer
Need more? See our post on Yealink BLF configuration tips.
Secure Your Configuration
Don’t leave your phone wide open—lock it down:
- Change default admin credentials
- Use HTTPS provisioning and disable unused ports
- Set up VLAN and QoS for traffic control
- Keep firmware updated regularly
Want deeper insights? Read our secure Yealink phone setup guide.
Where to Shop for Yealink IP Phones
Ready to buy one?
👉 Shop IP PHONES on Promallshop. You’ll find top-rated Yealink models at competitive prices with fast delivery options.
Plus, check out the Promallshop blog for product reviews and setup tutorials.
Conclusion
Setting up your Yealink IP phone doesn’t have to be a headache. With this Yealink IP Phone Setup guide, you’re now equipped to tackle everything from basic settings to secure configurations. Whether it’s a single phone at home or a full office rollout, you’ve got what it takes.
And remember—technology is only tricky until someone explains it well. Now that you’re all set, enjoy those crystal-clear calls.
FAQs
Yes, this guide is designed for non-tech users! If you can follow browser instructions, you're golden.
You’ll see the status as “Registered” on the account settings page.
Yes—just be sure to use the official firmware file from Yealink’s website.
It’s optional but very helpful if you're configuring more than one phone.
Absolutely! They’re compatible with most SIP-based services like 3CX, FreePBX, and Asterisk.