Introduction
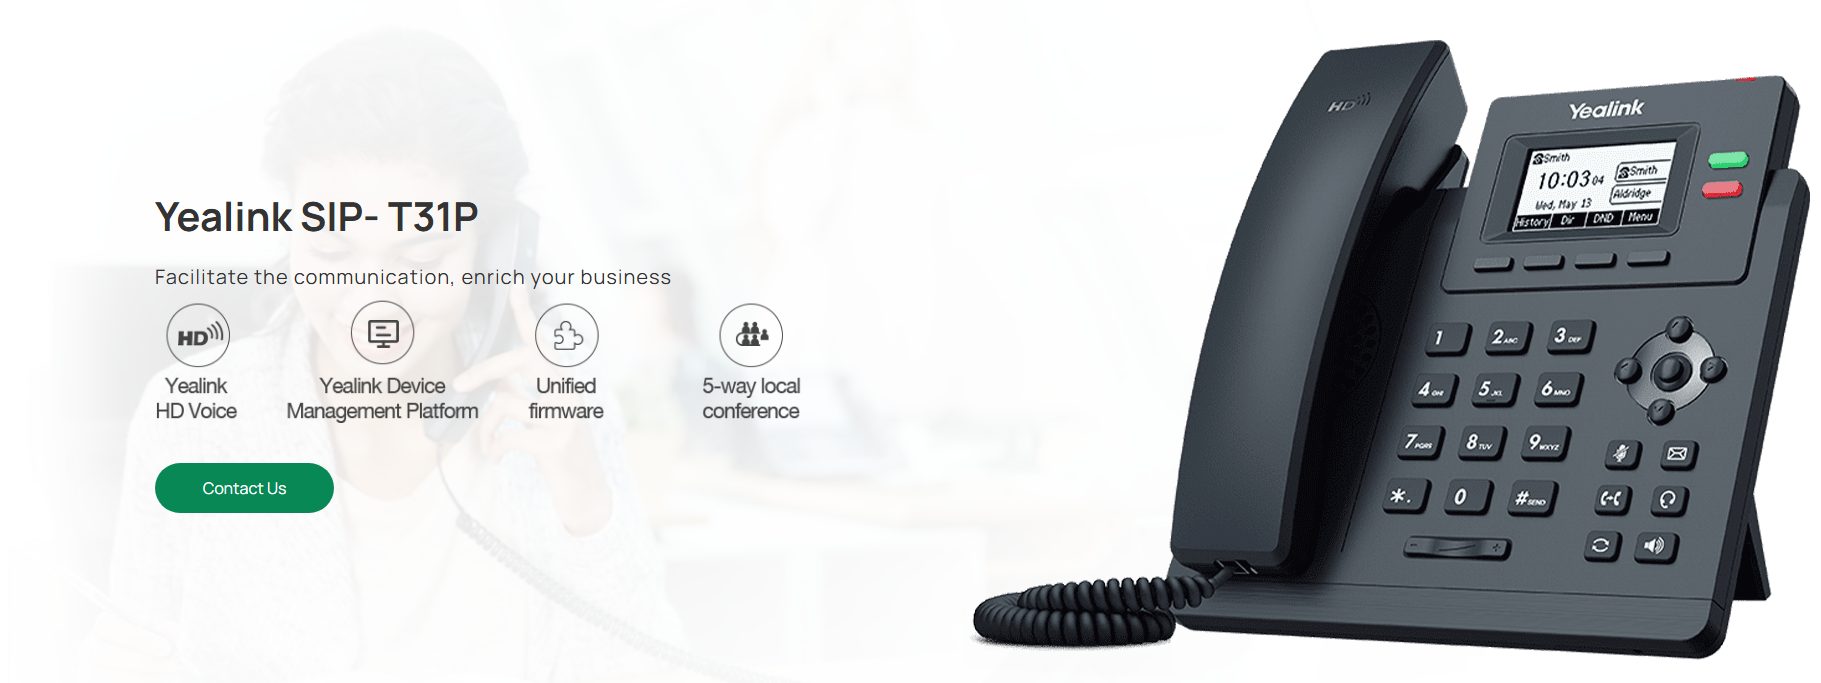
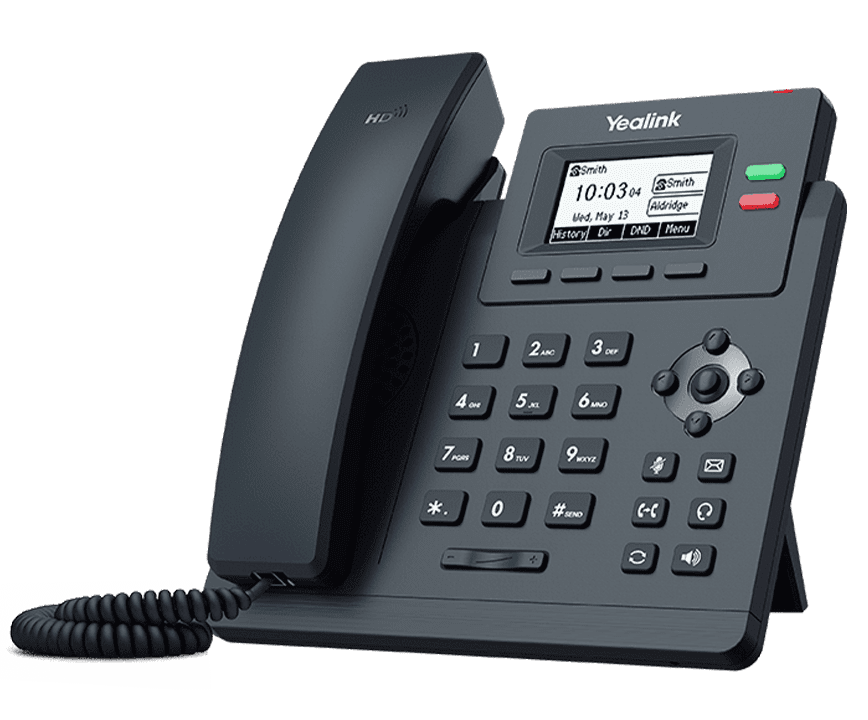
The Yealink T31P is a reliable, user-friendly IP phone designed for both small businesses and home offices. If you’re wondering how to set it up, you’re in the right place. This Yealink T31P setup will take you through the entire process step by step, making configuration a breeze, even for beginners.
Table of Contents
- Introduction
- Introduction to Yealink T31P
- Requirements for Configuring Yealink T31P
- How to Set Up Yealink T31P?
- Configuring Yealink T31P Manually
- Account Setup on Yealink T31P
- Advanced Settings for Yealink T31P
- Troubleshooting Common Issues
- Factory Resetting Yealink T31P
- Where to Buy Yealink T31P?
- Conclusion
- FAQs
Introduction to Yealink T31P
The Yealink T31P is a business-grade VoIP phone offering high-quality audio, dual Ethernet ports, and Power over Ethernet (PoE) support. It’s ideal for seamless communication in professional and home office environments.
Requirements for Configuring Yealink T31P
Before you begin, ensure you have the following:
- Yealink T31P IP Phone
- Ethernet Cable
- Internet Connection
- VoIP Service Provider Details
How to Set Up Yealink T31P?
Unboxing and Hardware Setup
- Unbox the Device: Carefully remove the phone, power adapter (if not using PoE), Ethernet cable, and stand.
- Attach the Stand: Clip the stand onto the back of the phone.
- Plug in the Cables: Connect the Ethernet cable to the “Internet” port on the back. If using a power adapter, plug it in as well.
Connecting to the Network
- Connect the other end of the Ethernet cable to your router or network switch.
- The phone will power on and begin the booting process.
- Wait until the phone’s screen shows the main interface.
Configuring Yealink T31P Manually
Accessing the Web Interface
- Find the phone’s IP Address by navigating to Menu > Status on the phone.
- Open a web browser on your computer and enter the IP address in the address bar.
Logging In with Default Credentials
- Username: admin
- Password: admin
Note: Change these credentials after the first login for security.
Basic Network Configuration
- Go to Network Settings: Select Settings > Network in the web interface.
Set the IP Address: Choose either DHCP (default) or configure a static IP.
Account Setup on Yealink T31P
- Navigate to Account Settings: Select Account > Register.
- Enter VoIP Details: Fill in fields like SIP Server, Username, Password, and Display Name.
- Save Settings: Click Confirm to save and register the phone.
Advanced Settings for Yealink T31P
Customizing Phone Features
- Ringtone Selection: Change ringtones under Settings > Tones.
- Speed Dial Setup: Assign frequently called numbers to function keys.
Updating Firmware
- Visit Yealink’s Official Site: Download the latest firmware.
- Upload via Web Interface: Go to Settings > Upgrade and upload the firmware file.
Troubleshooting Common Issues
- Phone Not Registering: Double-check SIP details and network settings.
- No Dial Tone: Ensure proper cable connections and power supply.
- Poor Audio Quality: Inspect internet speed and reduce network congestion.
Factory Resetting Yealink T31P
- Via Phone Menu:
- Navigate to Settings > Advanced Settings.
- Enter the default admin password: admin.
- Choose Reset to Factory.
- Via Web Interface:
- Go to Settings > Upgrade > Reset to Factory.
Where to Buy Yealink T31P?
Looking to purchase the Yealink T31P? Order it easily from Promallshop, your trusted online store for business-grade IP phones.
Conclusion
Setting up the Yealink T31P is straightforward when you follow these steps. From network configuration to advanced customizations, this guide covers everything you need for seamless communication. Take control of your IP phone and enjoy hassle-free connectivity!
FAQs
How to configure Yealink IP phone to use?
To configure your Yealink IP phone, access the web interface using its IP address, log in, and set up your VoIP account under Account > Register.
What is the default username and password for Yealink T31P?
The default username is admin, and the default password is admin. Be sure to change these after your first login.
How to reset Yealink T31P?
Navigate to Settings > Advanced Settings on the phone menu, enter the admin password, and select Reset to Factory.
Why is my Yealink T31P not connecting to the network?
Check if the Ethernet cable is securely connected and verify network settings like IP configuration.
Can I update the firmware on Yealink T31P?
Yes, download the latest firmware from the Yealink website and upload it through the web interface under Settings > Upgrade.


