
Introduction
Setting up your Yealink W73P DECT phone system doesn’t have to feel like assembling furniture without instructions. Whether you’re a small business owner or someone just diving into VoIP, this simple, human-friendly guide will walk you through it—step by step.
We’ll cover everything from unboxing to handset pairing and final configuration. Ready to get started? Let’s make this setup journey smooth and stress-free.
Table of Contents
- Introduction
- What Is the Yealink W73P DECT Phone System?
- Unboxing and What’s Included
- Understanding the Components
- DECT Base Station Setup Yealink
- Yealink W73P Network Configuration
- W73P IP Phone Settings Explained
- W73P Handset Pairing Instructions
- How to Register Yealink Handset
- Yealink W73P Provisioning Steps
- Secure Yealink Phone Setup Tips
- Yealink W73P for Small Business Use
- Troubleshooting and Support
- Where to Buy Yealink W73P DECT Phone System
- Conclusion
- FAQs
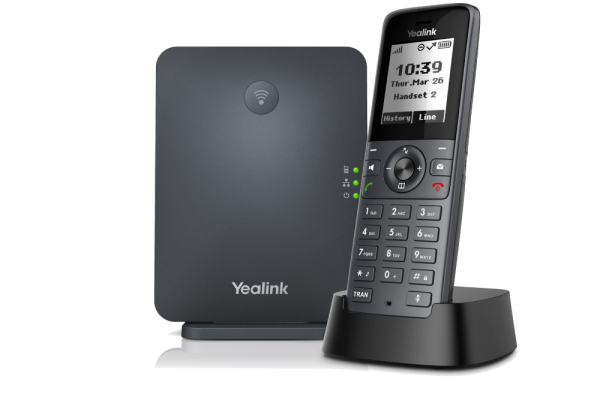
What Is the Yealink W73P DECT Phone System?
The Yealink W73P DECT phone system is a wireless VoIP solution ideal for businesses looking for flexibility and high-quality voice communication. Imagine having a landline with the mobility of a mobile phone—without the call drops. That’s what this system offers.
It’s built for small to medium-sized environments and includes a base station and handset combo that supports up to 10 handsets and 10 SIP accounts.
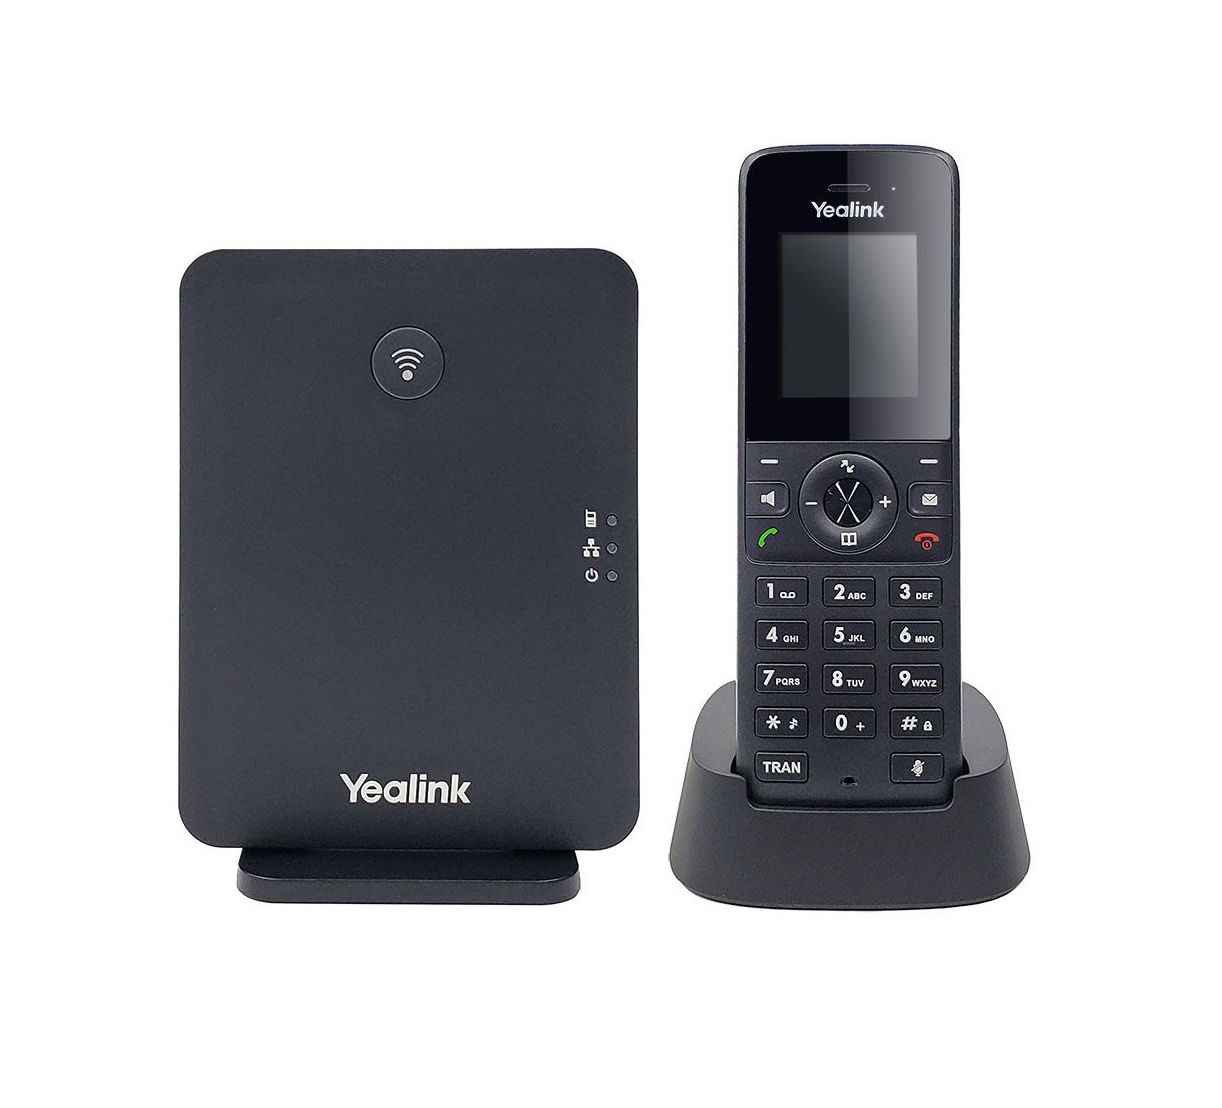
Unboxing and What’s Included
When you open the box, you’ll find:
- 1 × W70B DECT Base Station
- 1 × W73H Handset
- 1 × Power Adapter
- 1 × Ethernet Cable
- 1 × Charging Cradle and Battery
- Quick Start Guide
These are all the essentials you need to begin the Yealink W73P installation process.
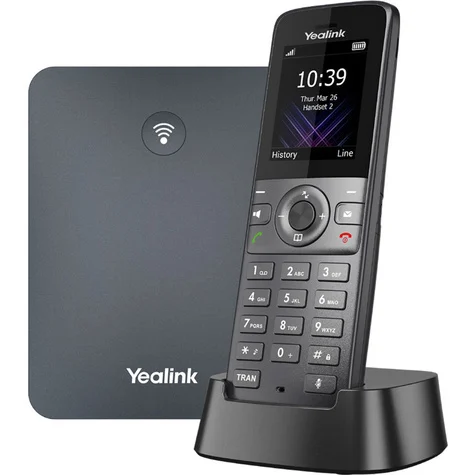
Understanding the Components
Let’s break it down:
- W70B Base Station: This connects to your network and acts as the hub.
- W73H Handset: Your cordless phone.
- Charging Cradle: Keeps your handset powered up.
Each part works together to ensure seamless DECT communication. Think of the base station as the router and the handset as your wireless device.
DECT Base Station Setup Yealink
Now to the core: setting up the base station.
Step-by-Step:
- Plug the Ethernet cable into the base station and connect it to your router or switch.
- Connect the power adapter to the base station (if not using PoE).
- Wait for the LED indicator to light up solid to confirm network detection.
Once powered and connected, your base station becomes discoverable by handsets.
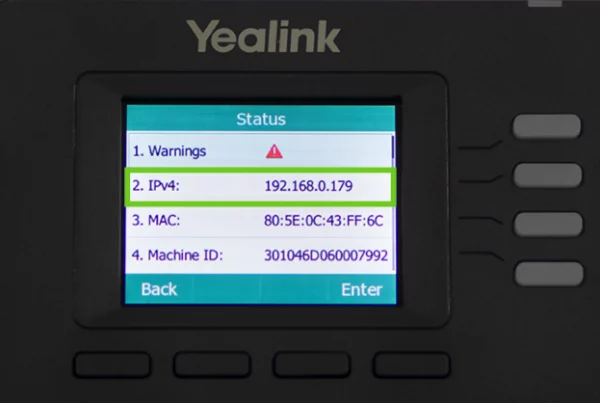
Yealink W73P Network Configuration
Let’s make it internet-ready.
- Access your router’s DHCP client list to find the base station’s IP.
- Type the IP address into your browser.
- Log in using default credentials:
Username: admin
Password: admin
Inside the web interface, you can assign static IPs or stick with DHCP. This step is essential for a stable Yealink W73P DECT phone system setup.
W73P IP Phone Settings Explained
This is where you input your VoIP credentials:
- Go to Account > Register in the base station’s web UI.
- Fill in:
- SIP Server
- SIP User ID
- Authentication Name
- Password
- SIP Server
Click Confirm, and your system should now connect to your VoIP provider.
Tip: If you’re using Promallshop’s VoIP service, check their blog for specific guides like this one.
W73P Handset Pairing Instructions
Time to pair the handset.
- Press and hold the paging button on the base station until the LED starts blinking.
- On the handset, go to:
Menu > Settings > Registration > Register Handset
- Select the base station and enter the default PIN: 0000
The handset will then pair and sync up with the base.
How to Register Yealink Handset
Sometimes, it’s more than pairing. Registration ensures full functionality.
- Once the handset finds the base, press OK.
- You’ll receive a confirmation once registered.
- Test by making an internal or external call.
This process is crucial for W73P base and handset connection to work properly.
Yealink W73P Provisioning Steps
Want to set up multiple phones in one go?
- Use auto-provisioning via TFTP, FTP, HTTP, or HTTPS.
- In the base station’s web UI:
Go to Settings > Auto Provision
- Enter the provisioning server address.
- Click Confirm.
- Enter the provisioning server address.
This helps IT admins or small businesses scale fast—think of it as cloning a perfect phone setup.
Secure Yealink Phone Setup Tips
Security matters.
- Change default passwords immediately.
- Use HTTPS provisioning instead of HTTP.
- Keep firmware updated via the Maintenance > Upgrade menu.
Protect your VoIP from potential eavesdropping with these basic precautions.
Yealink W73P for Small Business Use
Why is the W73P a favorite for startups and small teams?
- Supports up to 10 handsets and 10 lines.
- Reliable range up to 50m indoors.
- Crystal-clear audio with Opus codec.
It’s compact yet powerful—perfect for reception, support desks, and team collaboration.
To order yours, you can shop Yealink W73P DECT Phone System and check the current price.
Troubleshooting and Support
Running into issues?
- Handset not pairing? Reset the base and try again.
- VoIP not connecting? Recheck SIP credentials.
- No audio? Ensure the codec settings match your VoIP provider.
Also, visit the Promallshop blog for additional troubleshooting resources.
Where to Buy Yealink W73P DECT Phone System
For a reliable, scalable, and user-friendly wireless VoIP solution, the Yealink W73P DECT phone system setup is hard to beat. You get flexibility, mobility, and crystal-clear voice—all at a small business–friendly price.
You can easily shop Yealink W73P DECT Phone System at Promallshop to get started right away.
Conclusion
Setting up the Yealink W73P DECT phone system doesn’t require a tech background. With the right guidance—and a bit of patience—you’ll be up and running in no time. From unboxing to secure provisioning, this guide was crafted to make things easier for you. So go ahead and empower your workspace with modern communication.
Need more setup guides? Check out other helpful content at the Promallshop blog.
FAQs
1. Can I connect multiple handsets to one Yealink W73P base station?
Yes, the base supports up to 10 handsets simultaneously.
2. What is the default PIN for Yealink handset registration?
The default PIN is 0000, unless changed during initial setup.
3. Do I need an IT expert to set this system up?
Not necessarily. This guide provides enough info for most users to set it up independently.
4. How far can I walk with the W73H handset without losing signal?
Indoors: up to 50 meters; outdoors: up to 300 meters in open space.
5. Is firmware update necessary after setup?
Yes, updating the firmware ensures stability, security, and access to the latest features.