
Introduction
Trying to connect a Logitech webcam to your computer but don’t know where to start? You’re not alone. Whether it’s for a Zoom call, online class, or YouTube video, having a working webcam matters. But figuring out all the ports, drivers, and settings? That can feel like trying to solve a puzzle without the picture on the box.
Don’t worry—we’ve got you covered. This guide is here to make things simple. Let’s plug in, power up, and get your Logitech webcam ready in no time.
Table of Contents
- Introduction
- Understanding Logitech Webcams
- Check System Compatibility First
- How to Plug in Your Logitech Webcam
- Install Logitech Webcam Driver
- Connect Logitech Webcam to Computer (Windows)
- Setup Logitech Webcam on a Mac
- Troubleshooting Tips if Webcam Isn’t Detected
- How to Use Logitech Webcam for Calls or Streaming
- Adjusting Logitech Webcam Settings for Best Quality
- Where to Buy
- Conclusion
- FAQs
Understanding Logitech Webcams
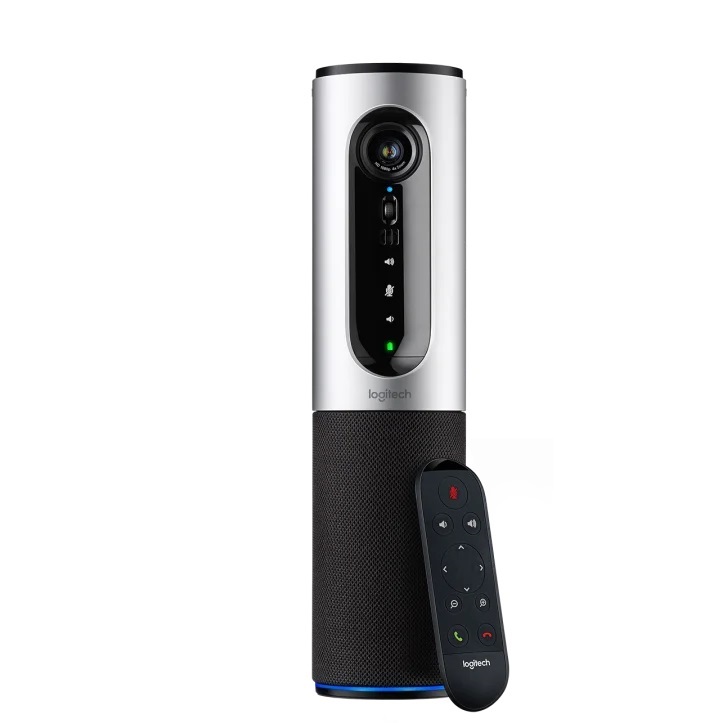
Logitech offers a wide range of USB webcams, from basic models like the C270 to professional HD cameras like the Brio series. These devices are designed for plug-and-play use, meaning most should work right out of the box. However, some features may require additional drivers or software.
Think of your webcam as your digital eyes—it helps you be seen and heard clearly. But even the best eyes need the right glasses (aka settings and drivers) to work properly.

Check System Compatibility First
Before you connect anything, check these three things:
- Operating System: Is it Windows 10/11, macOS Monterey or newer.
- USB Port Type: Most Logitech webcams use USB-A. If you only have USB-C, you’ll need an adapter.
- Processor Speed: For HD webcams, at least an Intel i5 is recommended for smooth video.
Compatibility ensures your computer speaks the same “language” as the webcam. If it doesn’t, connection issues will follow.
How to Plug in Your Logitech Webcam
This part is easy:
- Take the USB connector from the webcam.
- Plug it into any open USB port on your computer.
- Wait 5–10 seconds for your system to recognize the device.
You might hear a ding or see a pop-up saying “New Device Detected.” That means the computer sees your webcam.
Install Logitech Webcam Driver
While many Logitech webcams work automatically, installing the official driver from Logitech’s website unlocks extra features like zoom, autofocus, and lighting controls.
- Visit Logitech Support.
- Type your model (e.g., Logitech C920).
- Download the driver or Logitech Capture software.
- Follow the setup prompts.
Drivers are like translators between your webcam and computer—they help everything run smoothly.
Connect Logitech Webcam to Computer (Windows)
For Windows users:
- Open Settings > Devices > Camera to confirm it’s connected.
- Open apps like Zoom, Skype, or Google Meet.
- Go to Video Settings > Select Camera > Logitech HD Webcam.
If you’re having trouble, go to Device Manager > Imaging Devices to check if the webcam is listed. If not, try a different USB port.
Setup Logitech Webcam on a Mac
Mac users, here’s your path:
- Plug in the webcam.
- Open FaceTime, QuickTime, or Zoom.
- Go to Preferences > Video > Select Logitech Camera.
No driver? No problem—macOS often recognizes USB webcams instantly. For more controls, you can try apps like Logi Tune for Mac.
Troubleshooting Tips if Webcam Isn’t Detected
If your computer doesn’t recognize the Logitech webcam, try these steps:
- Use a different USB port (especially on laptops with weak power output).
- Restart your computer.
- Check for updates in Device Manager (Windows) or System Preferences (Mac).
- Try a different device to see if the webcam is faulty.
Still stuck? You may need to update your operating system or download the Logitech webcam troubleshooting tips.
How to Use Logitech Webcam for Calls or Streaming
Once installed, you can use your webcam with:
- Video conferencing apps (Zoom, Skype, Microsoft Teams).
- Streaming platforms like OBS Studio, YouTube, and Twitch.
- Recording apps like Logitech Capture or Windows Camera.
Just open the app, go to video settings, and choose Logitech Camera.
Adjusting Logitech Webcam Settings for Best Quality
Want to look your best?
- Download Logitech Capture for free controls.
- Adjust exposure, brightness, zoom, and field of view.
- Use natural lighting or a ring light to improve image quality.
- Position the webcam at eye level for best framing.
Pro tip: Use a solid color background to reduce distractions during meetings or streams.
Where to Buy
Need to buy a Logitech webcam or accessories? You can check pricing and availability on Promallshop. Browse different models, compare features, and find one that fits your needs.
Use this direct link: shop WEBCAMS — easy, fast, and reliable.
Also, check out helpful blog content on blog.promallshop.com to learn more about video conferencing tools and tips.
Conclusion
So there you have it. You’ve now learned how to connect a Logitech webcam to your computer, troubleshoot issues, adjust your settings, and get video-ready for work, school, or content creation.
Don’t let tech hold you back. With just a few steps, your webcam becomes the gateway to clearer communication, better presentations, and smoother virtual meetings.
FAQs
Open Zoom > Settings > Video > Select Logitech Camera. If it’s not there, reinstall the driver and restart Zoom.
Yes, basic functionality works plug-and-play. But for full control, install Logitech’s software.
Many Logitech webcams are compatible with Chrome OS, but it’s best to check your model first.
Use a microfiber cloth and avoid alcohol. Clean the lens gently to prevent smudges.
Yes! Use Windows Camera, QuickTime (Mac), or Logitech Capture to record in HD.