

Introduction
Setting up a new phone system might feel like navigating a maze, but with the Yealink CP965, it’s more like a walk in the park. This article will guide you through the process of getting your Yealink CP965 ready for Microsoft Teams, from unboxing to making conference calls. Whether you’re a tech newbie or a seasoned pro, we’ll break it down step by step to ensure you get the most out of your new conference phone.
Table of Contents
- Introduction
- Unboxing Your Yealink CP965
- Understanding the Yealink CP965 Specs
- Initial Setup: Connecting to Power
- How to Connect Your Yealink CP965 to Your Router
- Configuring the CP965 for Microsoft Teams
- Connecting the CP965 to Your Computer
- Updating the Firmware on Your Yealink CP965
- Adding an Expansion Mic to Your Yealink CP965
- Using the CP965 for Zoom Calls
- Conclusion
- FAQs
Unboxing Your Yealink CP965
Opening the box of your Yealink CP965 is like discovering a new gadget from your favorite tech brand. Inside, you’ll find the main unit, a power adapter, a network cable, and a quick start guide. Take a moment to check that all these items are present. The quick start guide is particularly useful for getting a visual on the setup process.
Pro Tip: Before diving into setup, make sure you have a clear workspace and all necessary tools at hand.
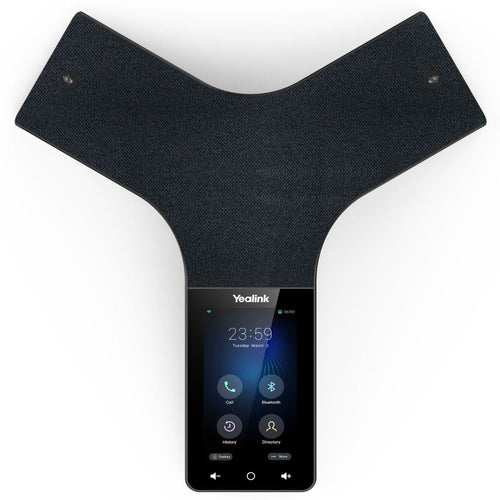
Understanding the Yealink CP965 Specs
The Yealink CP965 is designed to enhance your conference calls with its robust features. Here’s a brief overview of what you can expect:
- Display: 7-inch touchscreen for easy navigation.
- Connectivity: Supports Ethernet and Wi-Fi.
- Audio: High-definition audio with support for Yealink’s expansion mic.
- Compatibility: Fully integrated with Microsoft Teams and Zoom.
- Firmware: Regular updates for improved performance.
Knowing these specs will help you understand what the CP965 is capable of and how it fits into your setup.
Initial Setup: Connecting to Power
The first step in getting your CP965 up and running is to connect it to power. Plug the power adapter into the unit and then into a wall outlet. The phone should power up and display the Yealink logo on the screen. If you don’t see this, double-check your connections.
Analogy: Think of this step like plugging in a lamp. If the lamp doesn’t light up, you’d first check if it’s plugged in properly.
How to Connect Your Yealink CP965 to Your Router
To get your Yealink CP965 online, you’ll need to connect it to your router. Here’s how:
- Connect the Ethernet Cable: Take the provided network cable and plug one end into the Ethernet port on the CP965.
- Plug into Router: Connect the other end of the cable to one of the Ethernet ports on your router.
- Verify Connection: The phone should automatically detect the network and connect. Look for a connection icon or check the settings menu for network status.
Troubleshooting Tip: If the CP965 isn’t connecting, ensure your router is functioning properly and check the cable connections.
Configuring the CP965 for Microsoft Teams
Once connected to the network, it’s time to configure your CP965 for Microsoft Teams. Follow these steps:
- Access the Settings Menu: Tap on the gear icon on the touchscreen to enter the settings.
- Select Accounts: Navigate to the “Accounts” section and choose “Add Account.”
- Enter Microsoft Teams Details: Input your Microsoft Teams credentials or use the QR code scanning method if available.
- Save Settings: Once configured, save the settings and allow the device to restart if prompted.
Pro Tip: Make sure your Teams account is correctly licensed and set up to avoid any login issues.
Connecting the CP965 to Your Computer
For some advanced configurations or updates, you may need to connect your CP965 to a computer. Here’s how:
- USB Connection: Use a USB cable to connect the CP965 to your computer.
- Install Necessary Drivers: Your computer may need specific drivers to recognize the device. Check Yealink’s website for the latest drivers.
- Access CP965 via Browser: Once connected, you can access the CP965’s web interface through a browser for more detailed settings adjustments.
Analogy: Think of this like connecting a new printer to your computer—drivers and a proper connection are key for smooth operation.
Updating the Firmware on Your Yealink CP965
Keeping your firmware up-to-date ensures your CP965 runs smoothly and securely. Here’s how to update the firmware:
- Download Firmware: Visit Yealink’s official website and download the latest firmware for the CP965.
- Upload Firmware: Go to the settings menu on your CP965, find the firmware update section, and upload the downloaded file.
- Restart Device: Follow the on-screen instructions to complete the update and restart the device if needed.
Pro Tip: Regularly check for firmware updates to keep your device running optimally.
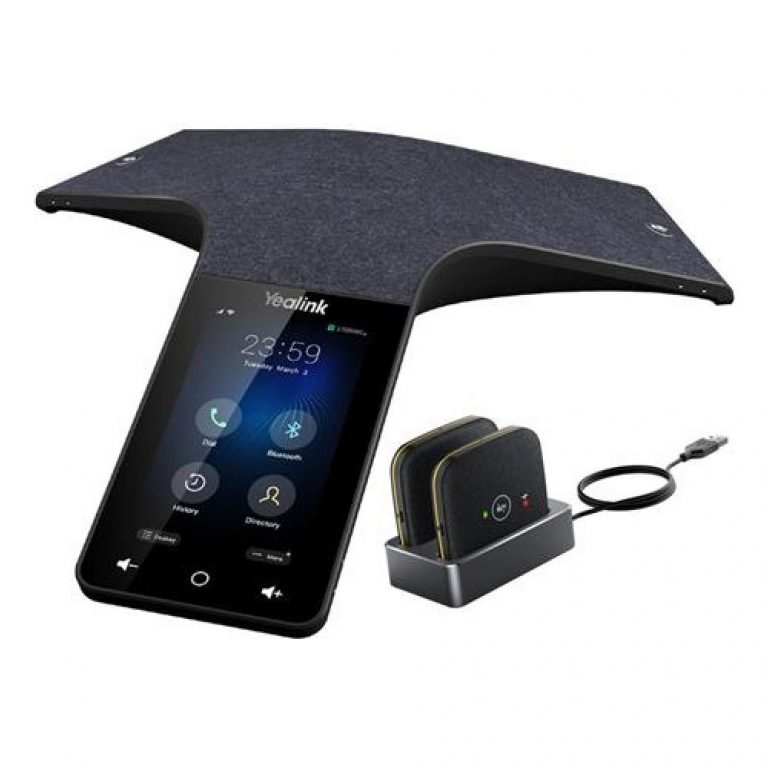
Adding an Expansion Mic to Your Yealink CP965
For larger conference rooms or enhanced audio, adding an expansion mic can be beneficial. Here’s how to do it:
- Connect Expansion Mic: Plug the expansion mic into the designated port on the CP965.
- Configure Settings: Access the audio settings on the CP965 to adjust the mic sensitivity and other parameters.
- Test the Setup: Perform a test call to ensure the mic is working correctly and adjusting audio as expected.
Analogy: Adding an expansion mic is like adding speakers to a home theater system—it enhances the overall experience.
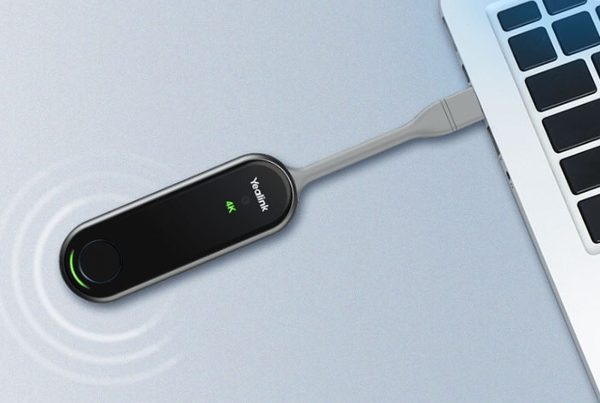
Logitech Scribe Button: Maintenance and Update Guide
To keep your Logitech Scribe button functioning at its best, regularly check for firmware updates and keep the button clean. Avoid exposing it to moisture, and store it in a safe place when not in use.
Using the CP965 for Zoom Calls
The CP965 is also compatible with Zoom, making it a versatile choice for various meeting platforms. To use it for Zoom:
- Open Zoom App: On the CP965’s interface, access the Zoom app.
- Sign In: Enter your Zoom credentials or use SSO (Single Sign-On) if configured.
- Start or Join Meetings: Use the touchscreen to start or join Zoom meetings as needed.
Pro Tip: Ensure you have the latest version of Zoom installed on your CP965 for the best performance.
Conclusion
Setting up your Yealink CP965 for Microsoft Teams and other conferencing solutions doesn’t have to be daunting. By following these straightforward steps, from unboxing to making your first conference call, you’ll have your CP965 up and running in no time. With its user-friendly interface and robust features, the CP965 is designed to make your meetings smoother and more productive.
FAQs
To set up a Yealink phone, connect it to power and your network, then access the settings menu to configure your account and preferences. For specific setup details, refer to the device’s manual or online support.
The default admin password for the CP965 is usually “admin.” However, it’s a good practice to change this to something more secure after your initial setup.
Connect your Yealink phone to your router using an Ethernet cable. Plug one end into the phone and the other end into the router’s Ethernet port.
To connect your Yealink phone to your computer, use a USB cable and ensure you have the necessary drivers installed on your computer. Access the phone’s settings through a web interface for advanced configurations.
The Yealink CP965 manual can be found on Yealink’s official website under the support or downloads section. It provides detailed instructions for setup and troubleshooting.