
Introduction
The Logitech Scribe button is a game-changer in the world of video conferencing. Whether you’re a professional working in a high-paced office environment or a teacher conducting online classes, the Logitech Scribe button enhances your meetings with effortless whiteboard sharing. But how do you pair this powerful tool? In this simple guide, we’ll walk you through everything you need to know about pairing the Logitech Scribe button to ensure your setup is seamless.
Table of Contents
- Introduction
- Logitech Scribe Button: Understanding It
- Preparing for the Pairing Process
- Step-by-Step Guide to Pairing the Logitech Scribe Button
- Troubleshooting Common Pairing Issues
- Advanced Setup and Configuration Tips
- Ensuring Compatibility with Video Conferencing Platforms
- Testing the Connection for Optimal Performance
- Logitech Scribe Button: Maintenance and Update Guide
- Conclusion
- FAQs
Logitech Scribe Button: Understanding It
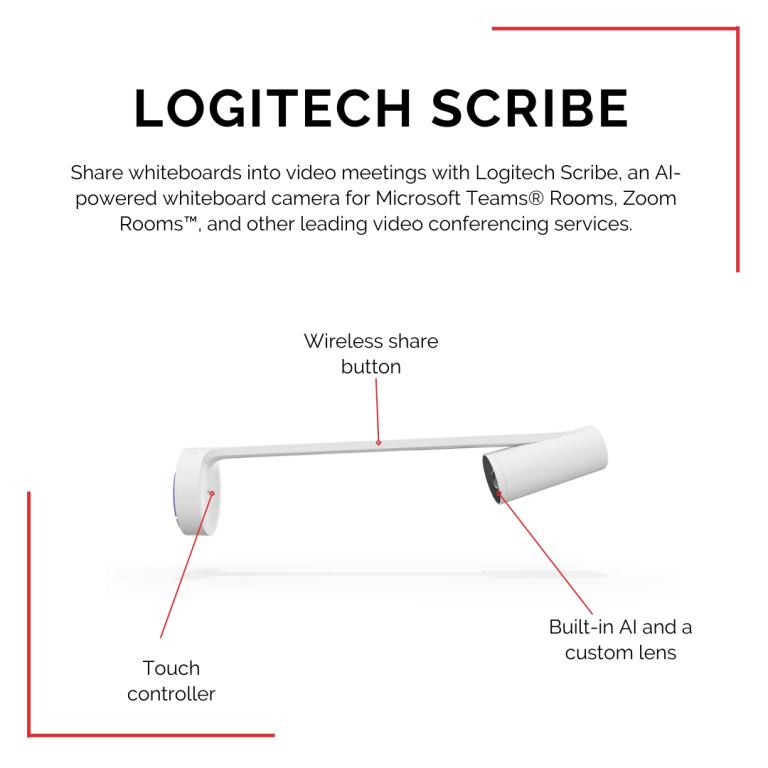
The Logitech Scribe button is designed for quick and easy whiteboard sharing during virtual meetings. It connects wirelessly to your smartboard or digital whiteboard, enabling participants to view content in crystal-clear quality. With features like one-touch sharing and smart annotations, it’s ideal for businesses and educational institutions alike.
Preparing for the Pairing Process
Before diving into the pairing process, make sure you have the following:
- The Scribe button
- A compatible smartboard or digital whiteboard
- A stable internet connection
- The latest version of Logitech’s software installed on your computer or device
Proper preparation ensures that the process is smooth and hassle-free.
Step-by-Step Guide to Pairing the Logitech Scribe Button
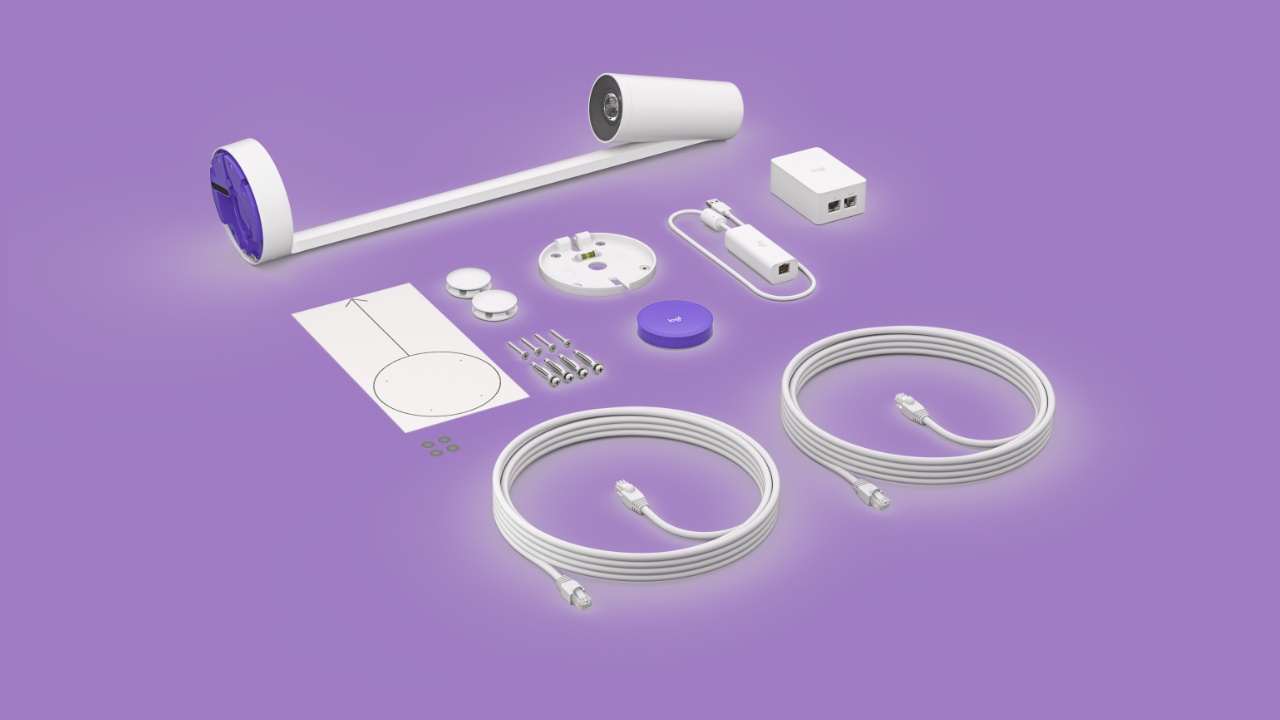
1. Unboxing and Installation
When you first unbox the Logitech Scribe, ensure that all components are intact. The box should include the Scribe button, a charging cable, and an installation guide. Begin by charging the Scribe button fully before use.
2. Connecting the Scribe Button via Bluetooth
Once the button is charged, it’s time to connect it to your smartboard. Here’s how:
- Turn on your smartboard and enable Bluetooth.
- Press and hold the button on your Logitech Scribe until the LED light starts flashing. This indicates that it’s ready to pair.
- On your smartboard’s Bluetooth settings, search for available devices and select “Logitech Scribe.”
- Confirm the connection, and the button should now be paired.
3. Syncing the Button with Logitech Software
To make the most of the Scribe button, it’s essential to sync it with the Logitech software:
- Open the Logitech software on your computer.
- Navigate to the “Devices” tab and select “Add New Device.”
- Choose the “Logitech Scribe” option and follow the on-screen instructions to complete the sync.
With these steps, your Scribe button should now be fully functional and ready for use.
Troubleshooting Common Pairing Issues
Despite following all the steps, you might encounter a few hiccups. Here are some common issues and how to resolve them:
- The Button Won’t Pair: Ensure that the button is fully charged and that the smartboard’s Bluetooth is enabled. If the issue persists, restart both devices.
- The LED light isn’t flashing. This usually indicates a low battery. Charge the button and try again.
- Connection Drops Frequently: Check if there are any interference sources, like other Bluetooth devices or thick walls. Also, ensure that your software is up-to-date.
Advanced Setup and Configuration Tips
For more control over your Logitech Scribe setup, explore the advanced configuration options within the Logitech software. You can customize button actions, fine-tune your display settings, and even integrate the button with other Logitech devices for a unified experience.
Ensuring Compatibility with Video Conferencing Platforms
The Logitech Scribe button works seamlessly with major video conferencing platforms like Zoom, Microsoft Teams, and Google Meet. Make sure your software is configured to recognize the Scribe as a primary input device for optimal performance.
Testing the Connection for Optimal Performance
After setting everything up, it’s important to test your connection. Here’s a quick checklist:
- Ensure the button responds quickly to inputs.
- Verify that the whiteboard content is clearly visible to participants.
- Conduct a mock meeting to see how the Scribe performs under real conditions.
Logitech Scribe Button: Maintenance and Update Guide
To keep your Scribe button functioning at its best, regularly check for firmware updates and keep the button clean. Avoid exposing it to moisture, and store it in a safe place when not in use.
Conclusion
Pairing the Logitech Scribe button is a straightforward process that can elevate your video conferencing and online meeting experience. By following this guide, you’ll be able to make the most of this innovative tool with minimal hassle.
FAQs
Yes, it’s compatible with most major brands, provided the smartboard has Bluetooth functionality.
Start by checking the battery level and ensuring your Bluetooth connection is stable. If issues persist, consult the Logitech support documentation.
It’s advisable to check for updates every few months to ensure you have the latest features and improvements.
Yes, through the Logitech software, you can adjust button actions to suit your needs.
Currently, Logitech supports only one button per smartboard to avoid conflicting inputs.