
Introduction
Imagine a robot that’s both fun to play with and educational at the same time. That’s exactly what mBot 2 offers. Designed for beginners, particularly young learners, mBot 2 provides a hands-on experience that makes learning to code as simple as dragging and dropping blocks. Whether you’re a parent looking to introduce your child to coding or an educator seeking engaging ways to teach STEM, mBot 2 is an excellent choice.
Table of Contents
- Introduction
- Getting Started with mBot 2
- Understanding the mBot 2 Components
- Setting Up mBot 2 for the First Time
- Programming mBot 2 Using Block Coding
- Creating Your First mBot 2 Project
- Exploring Advanced mBot 2 Programming
- Integrating mBot 2 into STEM Education
- Common Troubleshooting Tips
- Where to Buy mBot 2
- Conclusion
Getting Started with mBot 2
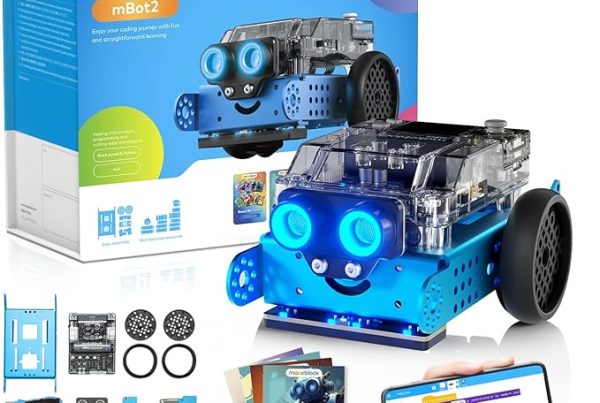
Before diving into coding, it’s essential to get acquainted with your new robot. The mBot 2 kit comes with everything you need to start your coding journey. From the robot itself to the necessary software, all components are designed with beginners in mind, ensuring a smooth and intuitive setup process.
Unboxing the mBot 2 Kit
Upon unboxing, you’ll find various parts, including the mainboard, motors, sensors, and a remote control. Everything is well-organized, so you won’t feel overwhelmed.
Charging and Powering On
Your mBot 2 needs to be charged before use. Simply connect it to a power source using the provided USB cable. Once charged, you’re ready to power it on and start exploring.
Understanding the mBot 2 Components
To get the most out of your mBot 2, it’s crucial to understand its main components. Each part plays a unique role in making your robot function, and knowing what each does will enhance your programming experience.
The Mainboard
The brain of mBot 2, the mainboard, controls all its actions. It’s where you’ll upload your programs and where all the sensors and motors connect.
Motors and Sensors
Motors allow mBot 2 to move, while sensors help it interact with its environment. Understanding these components will be key as you begin to code.
Setting Up mBot 2 for the First Time
Getting your mBot 2 ready to go is a straightforward process. Even if you’ve never done anything like this before, the user-friendly design ensures that anyone can set up the robot with minimal effort.
Installing the mBlock Software
The mBlock software is where you’ll create all your programs. It’s available for both desktop and mobile devices, making it easy to code wherever you are.
Connecting mBot 2 to mBlock
Once mBlock is installed, connecting your mBot 2 is a breeze. Follow the on-screen instructions, and you’ll be ready to start programming in no time.
Programming mBot 2 Using Block Coding
Block coding is an excellent way to introduce beginners to programming concepts without the need to write actual code. With mBlock, you can drag and drop code blocks to create programs that make your mBot 2 come to life.
Introduction to Block Coding
Block coding is like putting together a puzzle. Each block represents a piece of code, and when you fit them together, they tell your mBot 2 what to do.
Basic Movements and Commands
Start with simple commands like moving forward, turning, or stopping. As you get more comfortable, you can create more complex sequences that make your mBot 2 perform various actions.
Creating Your First mBot 2 Project
Now that you’re familiar with the basics, it’s time to create your first project. Let’s start with something simple, like making your mBot 2 move in a square pattern.
Planning Your Project
Before you start coding, it’s essential to plan what you want your mBot 2 to do. Sketch out the steps on paper, and think about which blocks you’ll need to use.
Writing the Code
Using the blocks in mBlock, write the code to make your mBot 2 move forward, turn, and repeat the process to complete a square.
Testing and Debugging
Once your code is ready, it’s time to test it. If your mBot 2 doesn’t do what you expected, don’t worry! Debugging is part of the learning process. Go back to your code, find the issue, and try again.
Exploring Advanced mBot 2 Programming
Once you’ve mastered the basics, it’s time to explore more advanced programming techniques. mBot 2 is incredibly versatile, allowing you to experiment with various sensors and even create complex algorithms.
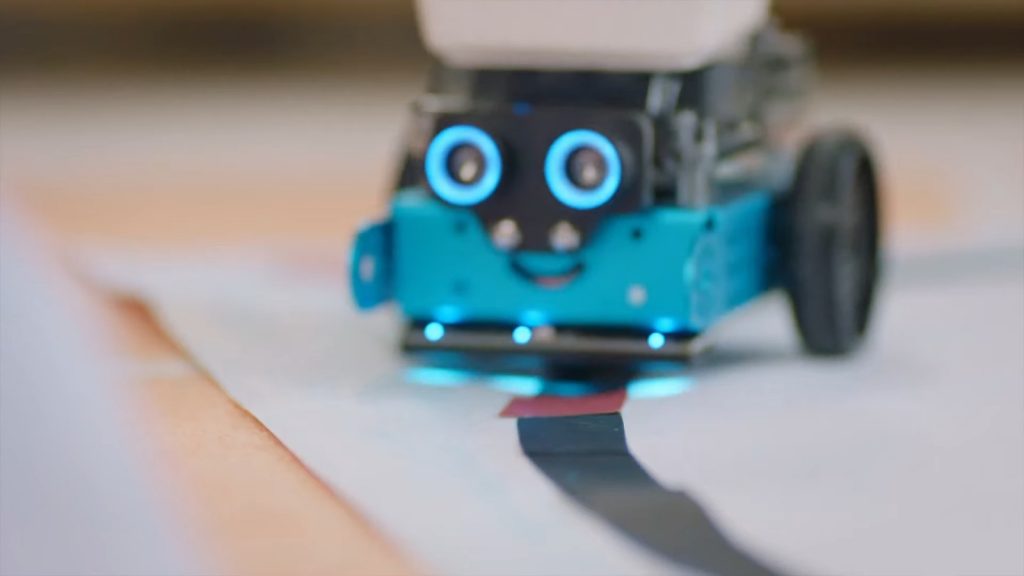
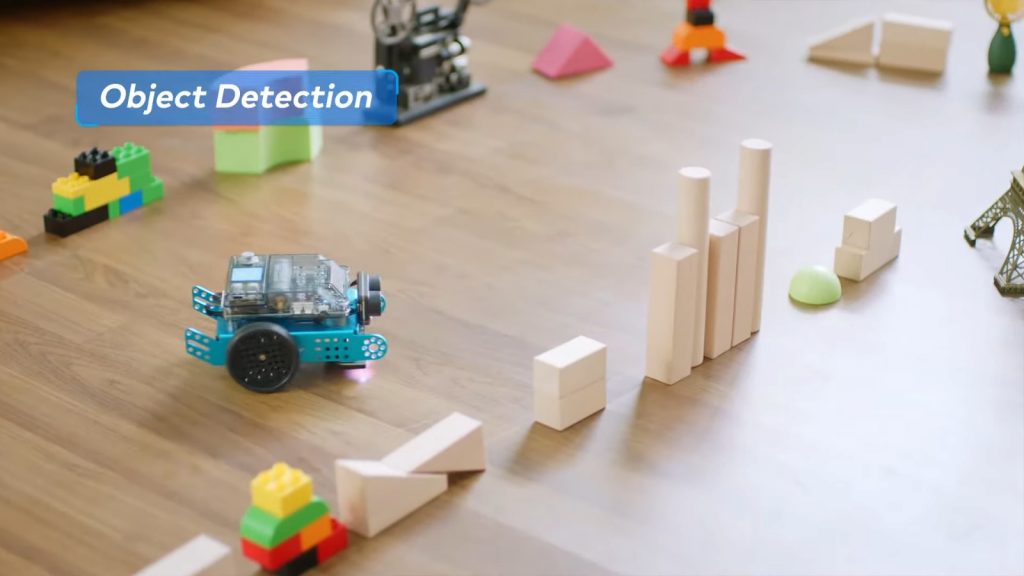
Using Sensors
Sensors can make your mBot 2 react to its environment. For example, you can program it to avoid obstacles or follow a line.
Creating Complex Algorithms
For those who want a challenge, try creating algorithms that involve multiple steps and conditions. This will push your programming skills to the next level.
Integrating mBot 2 into STEM Education
mBot 2 isn’t just a toy; it’s a powerful educational tool that can be integrated into various STEM (Science, Technology, Engineering, and Mathematics) curriculums.
Classroom Applications
Teachers can use mBot 2 to teach programming, robotics, and even math and science concepts. Its hands-on nature makes learning more engaging for students.
Home Learning
Parents can also use mBot 2 at home to supplement their children’s education. It’s a fun way to learn and can even be a bonding activity.
Common Troubleshooting Tips
Even with the best preparation, you might encounter some issues along the way. Here are some common problems and how to fix them.
Connection Issues
If your mBot 2 isn’t connecting to mBlock, try restarting both the robot and the software. Check that your USB cable or Bluetooth connection is secure.
Movement Problems
If your mBot 2 isn’t moving as expected, check the motors and wheels for obstructions. Make sure your code is correct and that all connections are secure.
Where to Buy mBot 2
Ready to start your journey with mBot 2? You can purchase it directly from Promallshop. They offer competitive prices and excellent customer service, ensuring you get the best experience possible.
Conclusion
Imagine a robot that’s both fun to play with and educational at the same time. That’s exactly what mBot 2 offers. Designed for beginners, particularly young learners, mBot 2 provides a hands-on experience that makes learning to code as simple as dragging and dropping blocks. Whether you’re a parent looking to introduce your child to coding or an educator seeking engaging ways to teach STEM, mBot 2 is an excellent choice.