Introduction
Connecting your Yealink IP phone to your network can seem daunting at first, but with the right guidance, it’s a straightforward process that ensures you stay connected seamlessly. Whether you’re setting up a new office or upgrading your existing setup, understanding the steps involved can make a significant difference in your communication setup. This guide will walk you through the steps to connect your Yealink IP phone effortlessly, ensuring you stay connected and productive.
Understanding Your Yealink IP Phone
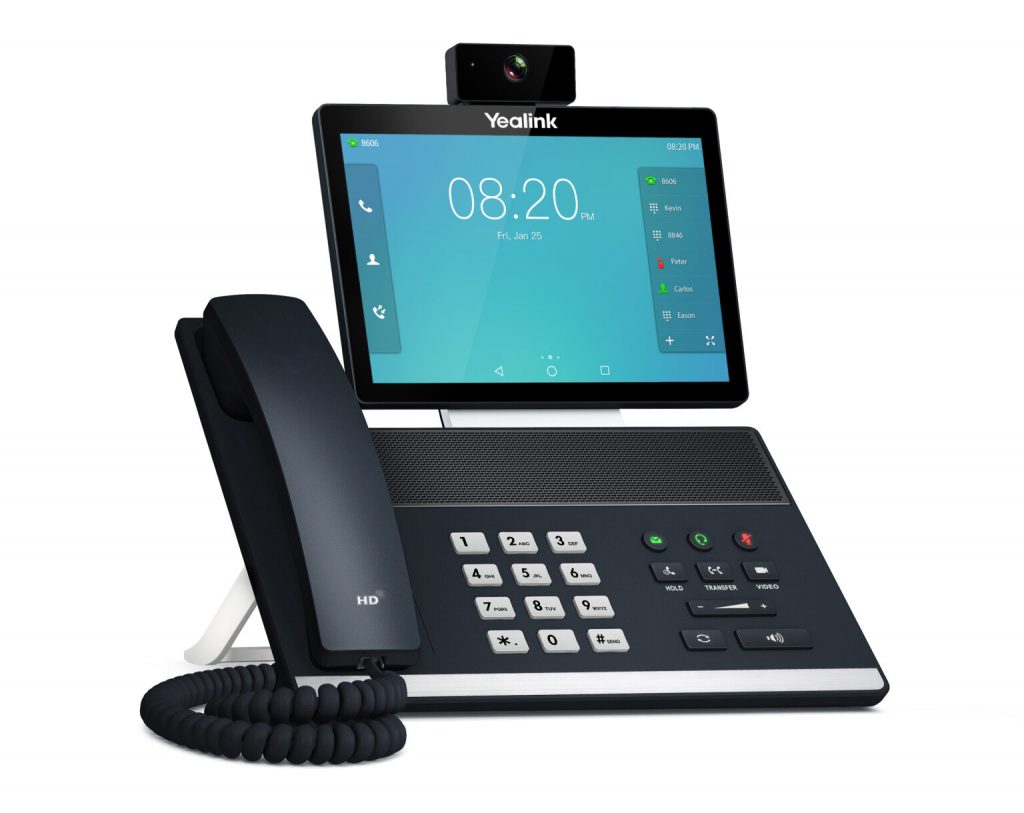
Before diving into the setup process, it’s essential to understand the basics of your Yealink IP phone. These devices are designed to leverage Voice over Internet Protocol (VoIP) technology, which allows for high-quality voice communication over the internet. They come equipped with various features, such as HD voice, multiple lines, and integration capabilities with other office systems.
Preparing for Setup
Before you begin, gather all necessary equipment: your Yealink IP phone, Ethernet cable (if applicable), and access credentials to your network. Ensure your network router or switch is powered on and functioning correctly.
Connecting Your Yealink IP Phone to Ethernet
For a stable and reliable connection, connecting your Yealink IP phone directly to your network via Ethernet is recommended. Follow these steps:
- Locate Ethernet Port: Identify the Ethernet port on your Yealink IP phone.
- Connect Ethernet Cable: Insert one end of the Ethernet cable into the Ethernet port on your phone and the other end into an available Ethernet port on your network router or switch.
- Power On: Power on your Yealink IP phone and wait for it to initialize.
Setting Up Wireless Connectivity
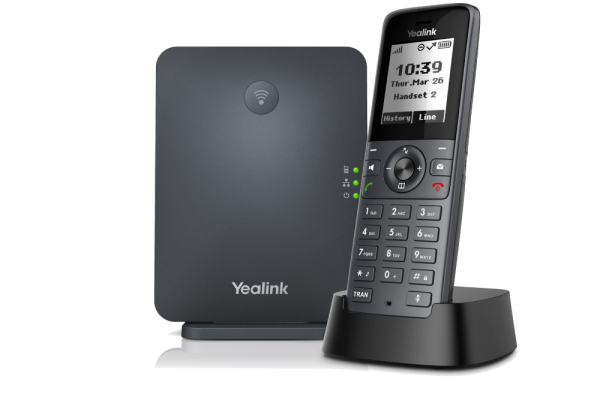
If you prefer wireless connectivity, your Yealink IP phone may support Wi-Fi. Here’s how to set it up:
- Access Wi-Fi Settings: Navigate to the network settings menu on your Yealink IP phone.
- Scan for Networks: Scan for available Wi-Fi networks and select yours.
- Enter Credentials: Enter the Wi-Fi password when prompted and confirm the connection.
Configuring Network Settings
To ensure seamless integration with your network, configure the network settings on your Yealink IP phone:
- Access Network Configuration: Navigate to the network settings menu on your phone.
- Enter IP Address: Depending on your network setup, configure the IP address, subnet mask, gateway, and DNS settings provided by your network administrator or ISP.
Testing Your Connection
Once connected, it’s essential to test your Yealink IP phone’s connection to ensure everything is functioning correctly:
- Make Test Calls: Place test calls to ensure voice quality and connectivity.
- Test Features: Verify that all features, such as call forwarding and voicemail, are working as expected.
Troubleshooting Common Issues
Encountering issues is common during setup. Here are some troubleshooting tips:
- Verify Connections: Ensure that all cables are firmly and securely connected.
- Restart Devices: Power cycle your Yealink IP phone and network equipment.
- Update Firmware: Check for and install any available firmware updates on your phone.
Advanced Network Configurations
For advanced users or specific network setups, consider these configurations:
- VPN Integration: Configure your Yealink IP phone to work with your VPN for secure remote access.
- Quality of Service (QoS): Prioritize VoIP traffic on your network to ensure voice quality.
- Integration with PBX: Integrate your Yealink IP phone with a Private Branch Exchange (PBX) system for enhanced call management.
Conclusion
Connecting your Yealink IP phone to your network is a fundamental step towards enhancing communication efficiency in your workplace. By following these straightforward steps and troubleshooting tips, you can ensure a seamless setup experience.
FAQs
Navigate to the network settings, scan for available Wi-Fi networks, select yours, and enter the password.
Check cable connections, restart devices, and ensure correct network settings are entered.
Yes, configure VPN settings on your Yealink IP phone under network settings.
Check network cables, router settings, and ensure the phone has a valid IP address.
Navigate to the phone’s settings menu, check for updates, and follow on-screen instructions.


